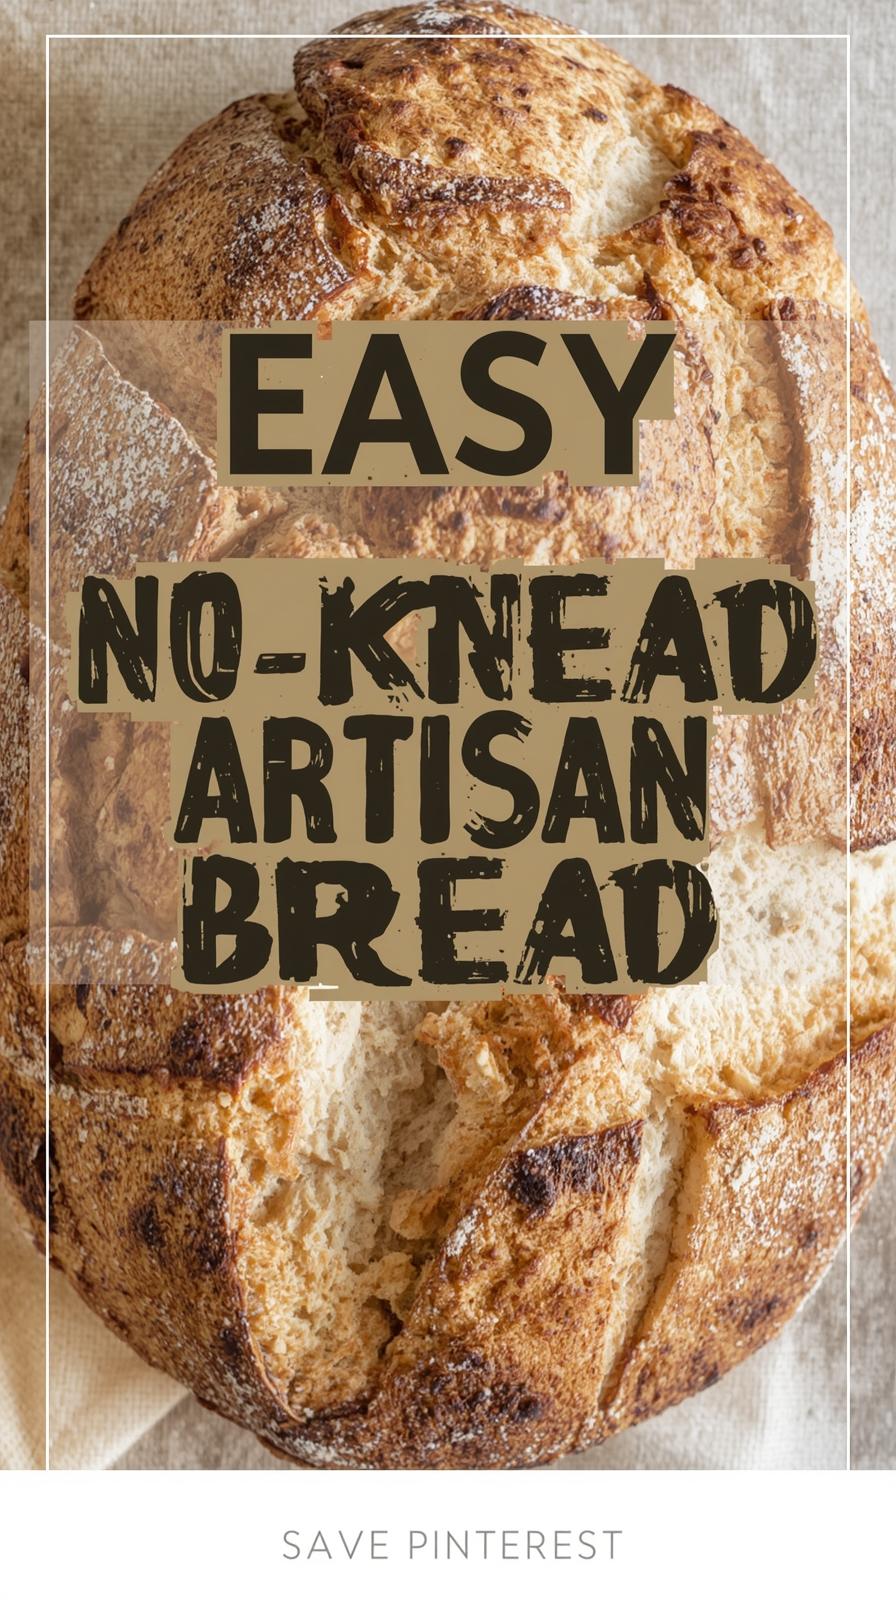
Baking a loaf of crusty, rustic, artisan-style bread at home can seem intimidating, but this No-Knead Bread recipe is here to change everything. It is a truly revolutionary method that requires no special equipment (other than a Dutch oven) and only about 5 minutes of active work. The magic happens during a long, slow fermentation, where time does all the work of developing flavor and structure. The result is a stunning, bakery-quality loaf with a deeply golden, shatteringly crisp crust and a soft, airy, and beautifully chewy interior. It’s the perfect recipe for beginner bakers looking to create something truly impressive.

Table of Contents
- Why You’ll Love This Recipe
- Ingredients You’ll Need
- Step-by-Step Instructions
- Pro Tips for the Best Loaf
- Frequently Asked Questions (FAQ)
Why You’ll Love This Recipe
- Almost No Work: This recipe is famous for its minimal effort—no kneading required!
- Bakery-Quality Results: Achieve a professional-looking and tasting loaf with an incredible crust and crumb.
- Foolproof for Beginners: A very forgiving recipe that is perfect for those new to bread baking.
- Simple, Minimal Ingredients: All you need is flour, water, salt, and yeast.
Ingredients You’ll Need
- 3 cups (380g) all-purpose or bread flour, plus more for dusting
- 1 ½ tsp salt
- 1/4 tsp instant yeast
- 1 ½ cups lukewarm water
Step-by-Step Instructions
- Mix the Dough: In a large bowl, whisk together the flour, salt, and instant yeast. Pour in the lukewarm water. Mix with a wooden spoon or your hands until a shaggy, sticky dough forms and there are no dry patches of flour.
- First Rise (The Long Fermentation): Cover the bowl with plastic wrap and let it sit at room temperature, in a draft-free spot, for 12-18 hours. The dough is ready when it is bubbly, risen, and has a web-like texture.
- Shape the Loaf: Lightly flour a work surface. Scrape the sticky dough out of the bowl. The dough will be loose and stringy. Gently fold the dough over on itself a couple of times to form a rough ball.
- Second Rise (The Short Proof): Place the dough on a piece of parchment paper. Cover it loosely with plastic wrap and let it rest for 30 minutes.
- Preheat the Dutch Oven: About 30 minutes before baking, place a 6-quart Dutch oven with its lid on in your oven and preheat the oven to 450°F (230°C).
- Bake the Bread: Carefully remove the scorching hot Dutch oven from the oven. Using the parchment paper as a sling, carefully lower your dough into the hot pot. Cover with the lid and bake for 30 minutes.
- Bake Uncovered: After 30 minutes, remove the lid. Continue to bake, uncovered, for another 15-20 minutes, or until the crust is deeply golden brown.
- Cool Completely: Carefully remove the bread from the pot and place it on a wire rack. Let it cool completely for at least 1 hour before slicing. This is crucial for the interior to set properly.
Pro Tips for the Best Loaf
- A Hot Dutch Oven is Key: Preheating the Dutch oven is what creates the initial blast of steam that gives the bread its amazing oven spring (rise) and crispy crust.
- Be Patient with the First Rise: The long 12-18 hour fermentation is where the bread develops its complex, delicious flavor. Don’t rush it.
- The Dough Will Be Sticky: This is a high-hydration dough, so it will be sticky and loose. Don’t be tempted to add too much extra flour; just use enough to handle it.
- Cool Before Slicing: As tempting as it is, slicing into hot bread will result in a gummy texture. Letting it cool completely allows the crumb structure to set.
Frequently Asked Questions (FAQ)
Q: What if I don’t have a Dutch oven?
A: You can use any heavy, oven-safe pot with a tight-fitting lid that is rated for high temperatures. The lid is essential for trapping steam.
Q: Can I use active dry yeast instead of instant?
A: Yes. If using active dry yeast, you should proof it first. Dissolve the yeast in the 1 ½ cups of lukewarm water with a pinch of sugar and let it sit for 5-10 minutes until foamy before adding it to the dry ingredients.
